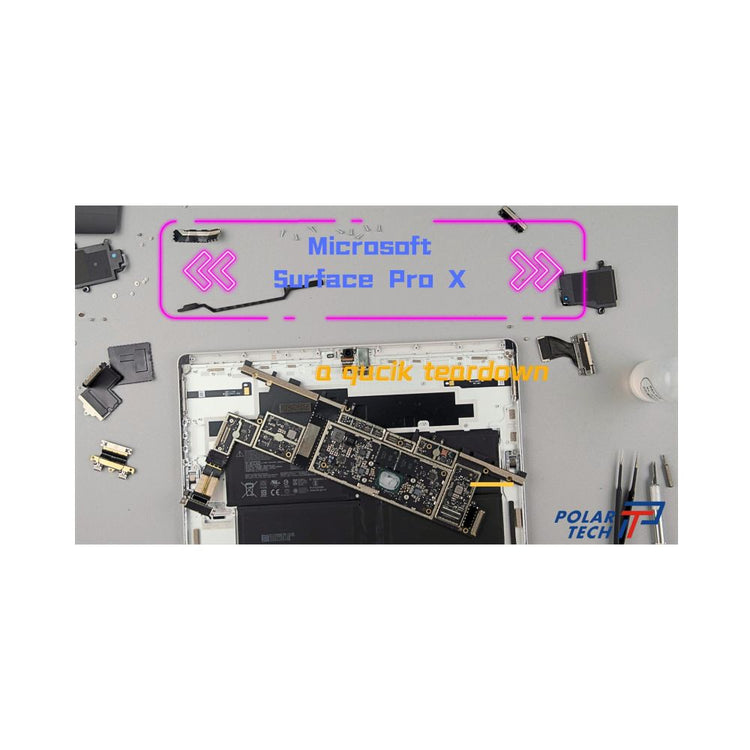
Discover the inner workings of the Microsoft Surface Pro X like never before with our comprehensive teardown video. From screen replacement to battery, fan, and charging port dock socket replacements, we guide you through every step of the repair process. Gain valuable insights and expert tips as we dissect the Surface Pro X, empowering you to confidently tackle any repair task. Whether you're a seasoned technician or a DIY enthusiast, this teardown video equips you with the knowledge and skills needed to keep your Surface Pro X running smoothly. Watch now and unlock the secrets to mastering Surface Pro X repairs
Quick Links For Tools and Replacement Parts
Buy Polar Selected Premium Tools:
https://www.polartech.com.au/collections/polar-tech-selected-tools
Buy Original Surface Pro X Replacement Battery
Buy Original Surface Pro X Replacement Screen
Buy Original Surface Pro X Replacement Parts, Cables, Flexs and Chargers
https://www.polartech.com.au/collections/microsoft-surface-spare-part/surface-pro-x
**Disclaimer**
Please note that this is a challenging process and you should only attempt it if you are comfortable working with electronics. If you are not confident in your abilities, you can always take your Surface Pro X to a qualified technician.
**Tools and Materials**
* Torx T5 screwdriver
* Phillips head screwdriver
* Pry tool
* Adhesive remover
* Replacement battery
**Instructions**
1. Power off your Surface Pro X .

2. Remove the screen.

3. Use a Torx T5 screwdriver to remove the screws.

4. Disconnect the cables, remove these screws and bottom cover in sequence.

5. Disconnect the battery cable from the motherboard, and we can take off the motherboard.


**Conclusion**
That's all there is to it! Teardonw in a Surface Pro X is a challenging process, but it can be done with the right tools and knowledge. If you have any questions, please feel free to leave a comment below.
For more teardown video, please visit our youtube:
https://www.youtube.com/@polartechonline
For more Surface or other laptop parts, please visit the relevant menu bar on our website homepage, or search on the homepage for more information. For any further inquiries, please feel free to contact us via email.


